“I craft, therefore, I hoard.”
That’s my motto. The full description of my art existence. You’ll see me say it often, I’m sure.
This is a beginner level project, but it does require patience and an understanding of measurements and ratios.
In this post I’m going to go over how to make some easy coasters using some resin, inexpensive wood pieces I found at Michael’s, and some metal scraps I’ve been holding onto. <– That’s where the hoarding comes in. I had no need for these bits and I’ve had them for years… This is why I keep random stuff. I used metal bits, you can use anything you’ve been holding onto and had no idea why you kept it. Ribbon, tissue paper, glitter, grass, small gift tags….. get fancy!
Step 1: Lay out your materials.
Make sure you have everything you need so you’re not scrambling to find it later. This step is hugely important to me because I always forget something. If you find you need something you didn’t know you needed, well that’s just how it rolls and you should go with it. Try not to get frustrated and just grab said item and continue on.

Step 2: Adhere your design pieces to your blank.
Depending on the blanks you bought you may want to sand them first but this step may not be necessary. If it’s rough enough that your decorations won’t adhere smoothly or easily then sanding should be done first.
I like to use Mod Podge for this. it’s not super expensive, but it dries quickly. If you’re using what you have around the house, Elmer’s will work just fine. I’d avoid using any glue that has a 24+ hour drying time like Gorilla glue. I’d also avoid super glue.
Apply your glue in a thin layer, and lay your design down on top of it. If you’re doing a slower design, use a small paint brush and apply the glue bit by bit as you work your design. Remember, Mod Podge dries fast so if you apply it to the entire surface and you are working on a slower design, you’ll have to keep re-applying your glue. Allow the glue to dry before moving on

Step 3: Mix your resin.
Most epoxy resins use a 1:1 mixing ratio. This makes it super easy, because they also come with measuring cups! Depending on the size of your blank, and depth of your design, there is no set amount of resin that I can suggest so you’ll have to use your best judgment. You can always mix more. Resin gives you about 20+ minutes of working time after it’s mixed, so don’t rush.
Mix your resin according to the manufacturers instructions. Stir thoroughly to ensure the mixture will harden properly. Scrape the bottom and sides of your cup to make sure you’re mixing all of it. You’re going to end up with some bubbles in your resin. Ideally, you want as few bubbles as possible but some bubbles are bound to happen. Try to stir fairly slow and smooth to keep your bubbles to a minimum. We’ll deal with these bubbles after our pour.

Step 4: Pour your resin.
Pour your resin slowly and evenly over your design in a thin layer. Use a popsicle stick or something disposable to smooth the resin to the edges of your blank. Make sure all gaps in the design, and around the edges are filled. You don’t need to go down the sides of your blank, but you can if you choose to. I didn’t go down the sides.


Now that you’ve smoothed out your resin and it’s even and lovely, let’s tackle those bubbles! This is easy, just make sure there is no hair in your face. Lean close to your design and gently breathe on it. Yes… that’s it. Just gently exhale over your design and you’ll see your bubbles start to pop. You may not get all of them but that’s ok! Some people use a straw for this step but I prefer not to. It’s the heat that pops the bubbles, not the air flow. The breath is cooler if it travels through a straw first. Professionals may use a blow torch. If you’re not a pro, I recommend passing on the torch. If you want to give it a go, do it in your driveway, garage, somewhere with a fire proof floor and away from anything flammable. Be smart. Fire is dangerous. Don’t do it in your house if you don’t know exactly what you’re doing.


Step 5: Let it rest.
Resin requires about 12 to 24 hours to cure. Set your coaster aside and let it rest for at least 24 hours. I think a bunny hair floated into mine… but it’s just for me so I’m not really concerned.
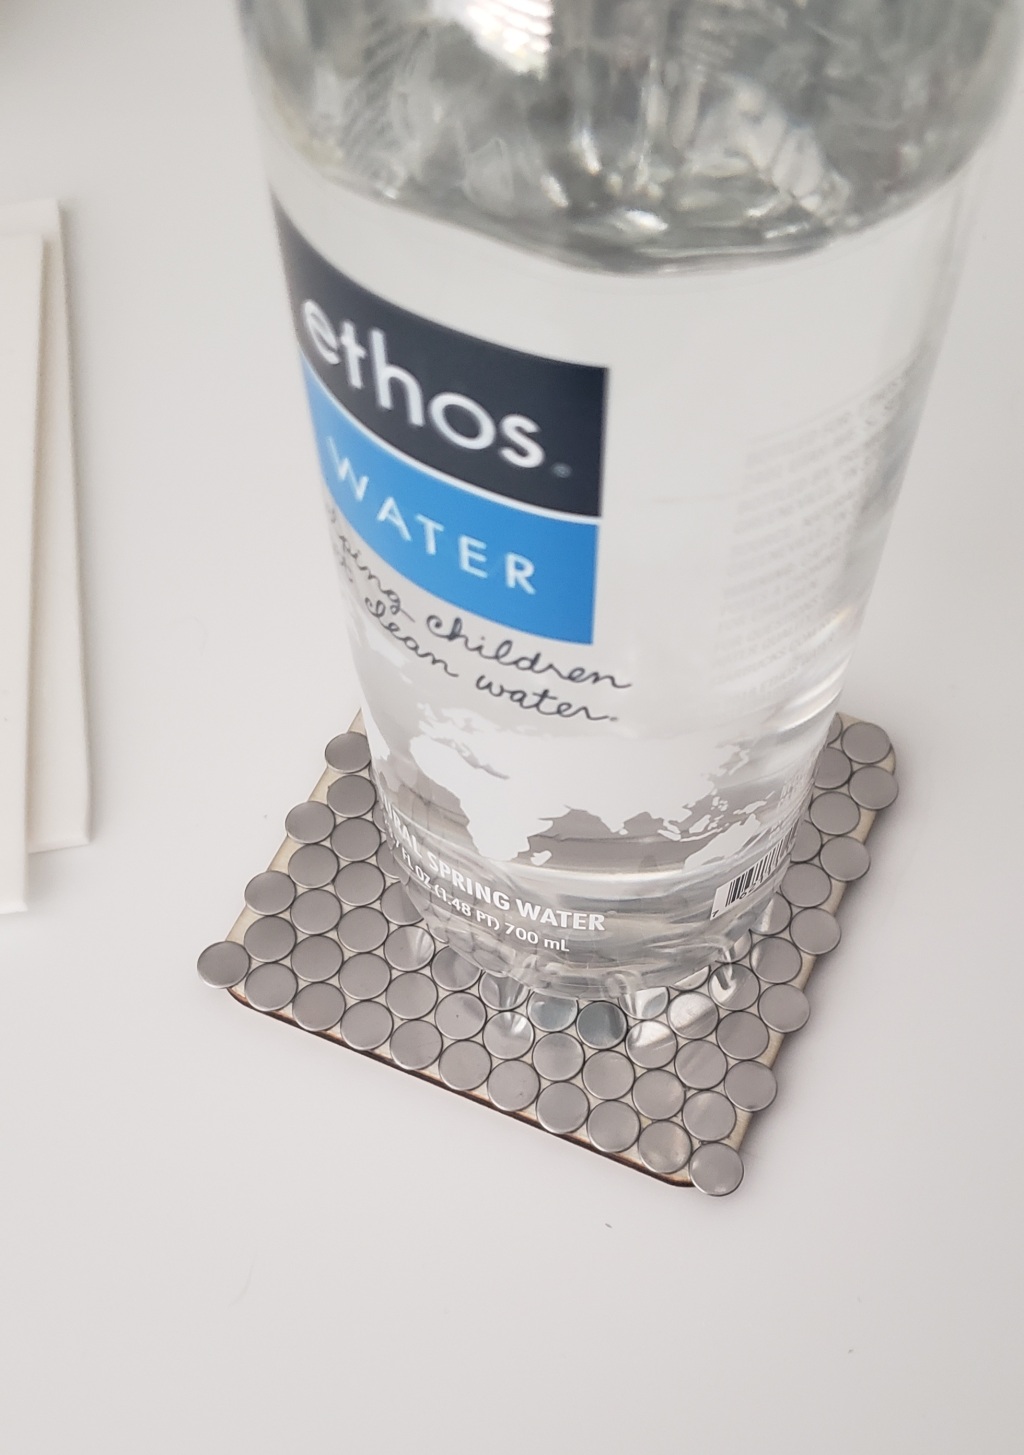
After 24 hours, just gently touch the edge of your design. Does it feel sticky? I hope not! If you’ve mixed properly, you should have a solid piece now. If your mixing was slightly incorrect, you will end up with a non-cured, sticky piece. This isn’t good because it’s not usable in this state. If this is where you’re at, mix a new batch a bit more carefully and go through steps 3 and 4 again right over top of your last layer.

You can also add another layer of resin if you want a thicker visual, or to work a layered design!
If your design uses dried flowers or something with heavier texture, you may need to do multiple pours anyway to achieve a smooth surface.
I hope you enjoyed my simple coaster project and that something amazing comes out of it! Be creative in your design. tissue paper, dried flowers, glitter… give it all a go! You never know until you try.
